Background

Pages

Showing posts with label vegetarian. Show all posts

Wednesday, August 15, 2012

Little. Baby. Tomatoes.

As stated in my previous blog post, my new proximity to the local farmer's market has been both awesome and problematic. I simply cannot pass up beautiful summer produce, and this is especially true when it comes to tomatoes. I have written before about my undying devotion to the summer tomato, and now that the only thing between me and a ripe 'mater is a short walk, I find myself with an excessive abundance of colorful tomatoes.


Now, not just any tomato will stop me in my tracks. Plain ole' beefsteaks or romas don't do a whole lot for me. I am sure it is possible to grow a delicious roma tomato, but I can't shake the many experiences I have had trying to make my grocery store-bought tomato taste like something. Anything. So when it comes to picking them out locally, I stick to one rule: the more colorful (and in some cases, ugly) the better.


But today's recipe makes use of the most beautiful varieties I have found lately - tiny, adorable, perfect little globes in all shades. Growers have been bringing red/green, purple, bright orange, yellow and green striped. They have delightful names like chocolate cherry, orange blossom, and banana gold, and they also happen to be intensely sweet. They pop in your mouth and taste like a burst of summer. How can I pass them by?


I have been bringing these beautiful little treats home by the bagful, and figuring out the best way to enjoy them (other than eating them right from said bag). Because they are so incredibly delicious on their own, I like to do put them in dishes that allow their flavor to shine.


I have also been coming home with a lot of bread from Lorraine's, so my go-to dish these days is Panzanella - Tuscan bread salad. I cannot get enough of this dish. I have made it 4 times in the last week, and yet my mouth waters just thinking about making it again. The juxtaposition of the super sweet tomatoes with the salty olives, rich olive oil, and acid from the vinegar is a pretty amazing combo. Throw some fresh basil on that and you got a slice of summer heaven.


My recipe is not traditional, but I make it how I like it. It is usually made with larger tomatoes, but the baby heirlooms work perfectly here, preventing the soupyness you might get from lots of seeds.  I also like to toast my bread so it doesn't get soggy. The measurements are rough because this is one of those "throw some stuff in a bowl and eat it" dishes. Play with it and see what you like. Feel free to also add garlic, cucumbers, or even feta to yours. Enjoy, then make it again, and enjoy again.


BABY HEIRLOOM PANZANELLA
Ingredients
1/2 loaf rustic white or whole wheat bread, cut into bite-sizes pieces
2 pints local baby tomatoes, cut in half
1/2 cup green olives
1/4 red onion, sliced thin
1/2 cup olive oil
1/3 cup red wine vinegar
sea salt
black pepper
large handful fresh basil (about 15-20 leaves), roughly chopped
small handful fresh parsley, roughly chopped

Instructions
1. Preheat oven to 400. Toss bread pieces with 1 tablespoon olive oil and toast until golden brown, about 10 minutes.

2. In large bowl, carefully combine tomatoes, olives, onion, olive oil and vinegar. Season with salt and pepper to taste.

3. Cool toasted bread and add to tomato mixture. Add basil and parsley, stirring to combine. Taste for seasoning and adjust. Throw in a splash of olive oil or vinegar if needed as bread soaks up dressing. Devour.


Monday, August 13, 2012

I'm a Burg girl now....(and why I have 5lbs of okra in my fridge)

Hello fellow foodies. Thank you visiting my blog after a long summer hiatus. It was a busy one, but I am happy to say that since my last post, I have become an official Lynchburg, VA resident. This move has been a long time coming, and I am excited by the possibilities it brings to my life, my family, and my cooking.

When Geoff (husband) and I were looking for a place to live, we decided we wanted to be close to the downtown area. We were lucky enough to find a house in a beautiful historic district just a couple blocks from downtown restaurants, bars, and most importantly, the Lynchburg Community Market.

This means, on Wednesdays and Saturdays, I am merely 3 block from local produce - which is both awesome and potentially dangerous. For the 2-3 weeks we have been in our home, I have been obsessing over the summer produce, bringing home multiple tote bags overflowing with tomatoes, basil, fresh corn, okra, parsley, dill, summer squash and zucchini. Because it is late in the season, I feel this irrational sense of urgency to scoop up everything I can before it is too late - nevermind my budget or carrying capacity. Sure, I may drop most of my grocery money in one morning, and it may take me half an hour to haul my vegetables three blocks, but summer is almost over, and I am going to soak up every last bite!

This past trip, I came across some tiny young zucchini and squash. I have cooked baby zuchhini before with the blossoms attached, and I remembered them being so sweet and tender that they needed very little else to create a delicious summer side dish. When I cooked the blossoms, I stuffed them with goat cheese and herbs, so I decided to use these baby squashed to make a deconstructed version of that dish.


This Young Zuchhini With Chevre & Basil is so simple, yet it tastes of summer in the way I want all my dinners to taste in August. Fresh. Herby. Light. Sweet. Serve with fish or meat from the grill, corn on the cob, and a tomato salad for a truly summerific spread. Enjoy.

YOUNG ZUCCHINI W/CHEVRE & BASIL
Ingredients
1lb young zucchini/squash
olive oil
sea salt
black pepper
2 oz crumbled goat cheese*
handful fresh basil

Instructions 
1. Preheat oven to broil.
2. Chiffonade the basil by stacking the leaves, rolling them tightly and then slicing thin with a sharp knife to get little ribbons.


3. Remove stems from zucchini, slice in half lengthwise (and again for larger ones). Toss in good amount of olive oil and spread onto large baking dish. Season with salt and pepper.


4. Broil for 7-10 minutes until edges are brown.
 

5. Transfer to a serving dish, top with crumbled goat cheese and basil and drizzle with additional olive oil. Devour.


*A note about goat cheese. When I say "crumbled" I do not necessarily mean that you should buy it that way. Although store-bought crumbled goat cheese exists, it is usually incredibly over-priced. Next time you shop, compare the prices between the block or roll of goat cheese and the crumbled variety by looking at the ounces. Chances are, you will pay the same amount for 8oz of solid cheese as you will 4oz of crumbled. So buy the regular kind, and crumble it with your hands. It's an expensive ingredient, so don't get tricked my packaging. Or just buy local and you won't have a problem. :)

Tuesday, March 13, 2012

Swiss Chard Paninis, A New Book, and Why You Should Boil Stuff.

I have been reading the book Everlasting Grace: Cooking with Economy and Grace by Tamar Adler. Adler trained under Alice Waters at Chez Panisse. Those of you that are not familiar with Alice Waters, she sort of pioneered the whole farm-to-table movement. She did it before it was cool, and since then has been helping to promote local, sustainable cuisine with a number of different projects. Most notabley, her Edible Schoolyard project brings agrictultural education into the classroom, and I think it's fantastic.

One of her many prodigies, Adler writes about vegetables in a way I can only aspire to. In her book, she promotes simplicity and quality ingredients over all. One of her favorite ways to prepare many foods is to simply boil it to its perfect point. Boiling? I haven't boiled a vegetable since I was served mushy, tasteless broccoli in my youth. Why would I do that when I can roast? Saute? She notes that it had become a bit out of fashion to do so, but explains that when done correctly, boiling can enhance the natural flavor and texture of the vegetable yet allow it to be itself.

So while reading this book, I have started to boil all my vegetables. I have enjoyed the simplicity of this, and most of all, I have enjoyed using one pot to do a day's worth of cooking. I don't even change the water. As she suggests, I just make sure I cook the starchiest last, and in doing so, I flavor the cooking water itself.

I have found most success with this cooking method in the use of greens. I boil them in salted water for about 1 minute and then drain thoroughly to prevent overcooking. Then, I drizzle them lightly (or heavily depending on my mood) in good olive oil, salt and pepper. If I want something more naughty, I grate some Parmesan over top. Then I am done. I love this on toast as significant snack or even a light lunch. I don't have a source for local, free range eggs, but if I did, I might be tempted to poach an egg over this concoction for a complete meal.

I encourage you to do two things. First, read this book. It is beautiful, and written in a way that few cookbooks are: as a narrative. The stories, recipes, and techniques are intertwined to weave a tail of taste and texture.

Second, revisit the saucepan and dare to boil your food. You may be surprised, as I have been, what you can create.

Below is my recipe for a quick weeknight dinner: Swiss Chard Paninis. Again, I am satisfied with the greens themselves on some toast, but if you are looking for something with a little more delicious goodness, this is a great use of those lightly cooked vegetables. I have a panini press, but if you don't, just throw your sandwich in a skillet on medium and place something heavy on top of it (a cast iron skillet works) until golden brown, then flip. Enjoy!


SWISS CHARD PANINI
Serves 2

Ingredients
1 large baguette (Publix's Italian 5-grain is ideal)
3-4 oz goat cheese
1 lb Swiss Chard, boiled and drained
2 tomatoes, thinly sliced
olive oil
salt & pepper

Instructions
1. Cut baguette into two equal halves. Slice each in half horizontally to create a top and bottom for your sandwich.
2. Spread the bottom half of the bread with goat cheese. On top of that, place a thick layer of boiled swiss chard, then sliced tomato. Season tomatoes liberally with salt and pepper.
3. Drizzle olive oil on the inside of the top half of the baguette and put sandwich together. Press slightly.
4. Grill in panini maker or skillet for 4-6 minutes. Serve hot.

Friday, February 17, 2012

Broccoli - Give it a makeover

My new Burg article on Broccoli talks about some ways to makeover that familiar green vegetable. It also spends 3 entire paragraphs discussing roasting, because roasted broccoli is god's gift to our dinner table.

Check out my recipes for Roasted Broccoli with Garlic, Lemon & Feta as well as a great way to use those stalks - Broccoli Stems with Pecorino Romano!

Broccoli – Rethinking an old standby (originally printed in The Burg)

Broccoli is one of the most ubiquitous green vegetables on the American table. It has been there since we were kids, alongside mashed potatoes and a piece of grilled chicken. In my experience, it also tends to be one of the few vegetables that kids are willing to eat – simply because of its familiarity.

And yet, even though this veggie is an old standby, I find that sometimes we don’t use it to it’s full potential. When I was young, my mother would serve me boiled broccoli with little flavor that completely disintegrated when I put it in my mouth. I didn’t hate it, but I didn’t exactly ask for seconds.

And then, when I became interested in cooking, I discovered something that made broccoli a vegetable that I now crave, as opposed to tolerate: roasting.

What’s so special about roasted broccoli? I have no idea. All I can say is that by giving the broccoli crispy brown edges, and keeping some of the firm texture of the vegetable, a whole new flavor is created. It reminds me of popcorn. And as proof of its power, I once made simple roasted broccoli for my father-in-law, a former broccoli nonbeliever, and I am told he know requests it for dinner. That is evidence enough for me.

To create your perfectly roasted broccoli, simply remove the florets from the stems, cut into somewhat equal size, toss in olive oil (about 2 tablespoons for each head), salt and pepper, and roast on 425 for 12-14 minutes. It can be eaten as-is, or tossed with any number of different ingredients for a delicious side dish. My recipe for Spicy Roasted Broccoli with Garlic, Lemon, & Feta is quick, easy, and completely satisfying.

Of course, there are many other ways to cook broccoli florets. Boiling is not the enemy to this vegetable, but what is important is to do it briefly to allow the texture and the flavor to remain intact. It can also be fried, sautéed, stir-fried, steamed, or eaten raw.

But what about the stems, do we just throw them away? Heck no! Although they may seem tough and fibrous, their insides are tender and tasty. After peeling the thick skin from the stems with a pairing knife, slice or shred the tender stalk and use it much like cabbage or zucchini. Or, you can cook the stems to make broccoli stock for the classic cheddar broccoli soup. My recipe for Broccoli Stems with Pecorino Romano is not really a recipe at all – just a way to eat the stems that allow their bright flavor to shine though.

Broccoli in all its forms goes well with a number of flavors & ingredients, including butter, almonds, pasta, cauliflowers, mustard, garlic, lemon, chiles, capers, red pepper flakes, cheese, anchovies, olive oil, rice, scallions, soy sauce, ginger, and more. It is a staple in Italian cuisine as well as many Asian foods.

Broccoli is a vegetable that certainly deserves a second look. I hope these recipes help you transform this familiar vegetable into something new and exciting for your dinner table this week.

SPICY ROASTED BROCCOLI WITH GARLIC, LEMON, & FETA
Ingredients1 Head Broccoli, stems removed and florets evenly cut
6-8 cloves garlic, thoroughly smashed and peeled
2 tablespoons olive oil
1 teaspoon red pepper flakes
1/2 teaspoon sea salt
2 teaspoons lemon juice
1 teaspoon anchovy paste (optional)
1/2 lemon, zested
2 oz Feta cheese

Instructions
1. Preheat oven to 425.

2. Toss broccoli florets, garlic cloves, olive oil, red pepper flakes & sea salt in large mixing bowl. Spread out onto large baking sheet evenly.

3. Bake for 12-14 minutes, or until edges are brown and crispy.

4. Meanwhile, in the same mixing bowl, whisk together the lemon juice, & anchovy paste.

5. Once broccoli is cooked, transfer to mixing bowl and toss briefly with anchovy mixture, lemon zest and feta.

BROCCOLI STEMS WITH PECORINOIngredients
2 heads broccoli stems
2 tablespoons olive oil
1/4 cup Pecorino Romano cheese, grated
1/4 teaspoon sea salt
1/4 teaspoon black pepper

Instructions
1. Peel fibrous layer from broccoli stems and slice into thin rounds.
2. Toss with remaining ingredients and serve.


Sunday, January 15, 2012

Greek Coleslaw is so 2012

Happy New Year! I hope you have all had a lovely, productive, positive start to 2012. I just recently got back to Florida and have been settling back into our home as well as my kitchen. It is always great to cook in my own kitchen after some time away. Even though it is tiny and I sometimes wonder if it was made for a child, it is still nice to get back. Actually, not having to move to reach any single tool in my kitchen does have its perks.

This week, I have been working on a new Burg article about Savoy cabbage, and ended up loving it so much that I had too many recipes to fit into the article. Although I have always been a cabbage fan (coleslaw, sauteed red cabbage, cabbage soup), I had never really worked with Savoy, which had now mad my list of top 10 winter vegetables. That might not sound like a prominent place to be, but that list includes parsnips, brussels sprouts, celery root, butternut squash - vegetables that I love with an unnatural passion. For those of you who equate cabbage to "bunny food" and "blah," I challenge you to try some Savoy.  Just saute with a little onion, salt and pepper with olive oil until brown on the edges. That is all that needs to be done to make it taste completely delicious.

The article comes our next week, but until then, I give you Greek Coleslaw. A couple years ago, my mother-in-law made something like this and I thought it was awesome. It's bright, crunchy, and keeps for up to a week which I love. It is the kind of think I made on a Sunday and keep in my fridge all year long.

The recipe below uses feta, but feel free to omit the feta to keep it vegan. You can also add a tablespoon of vegan mayo to keep the richness.

Enjoy!


Greek Coleslaw
Serves 4-6 

Ingredients
1/2 Savoy cabbage, finely shredded
1/4 red onion, thinly sliced
1/4 cup fresh parsley, chopped
1 small handful chopped fresh oregano
1/2 cup chopped kalamata olives
2 oz good feta cheese
1 1/2 teaspoons Dijon mustard
1/2 cup olive oil
1/4 cup red wine or cider vinegar
2 tablespoons lemon juice
1 teaspoon black pepper
pinch sugar

Instructions
Combine all ingredients in large mixing bowl thoroughly. Let sit in refrigerator for at least an hour. Taste for seasoning and adjust if necessary. Serve cold.

Thursday, December 29, 2011

A Day at the Vineyard & Brown Rice Risotto

Hello, friends! Happy holidays to you all. I hope you are all enjoying a long vacation with close friends and family.

It's been too long since I posted. Although my goal is to post at least once a week, I got caught up in the end-of-the-year chaos. It happens. Aside from the usual Christmas shopping and travel-planning, the end of the semester is a busy time for college instructors (my day job). Final grades are due, and then there is the never-ending stream of emails from students who never really came to class all semester but are suddenly interested in passing. So, once the emails were ignored and the grades submitted, Geoff and I packed up our stuff and our "special needs" dog Tommy, and headed to Tallahassee for a week of Christmas festivities. 

That went by in a flash, and now we are about 600 miles north in Geoff's hometown in Central Virginia - a beautiful part of the country home to many local vineyards and breweries. If you read any of my traveling blog posts, you probably know that I have a serious love for wine, and lately my husband has gotten into it at a much higher level than myself. So, the fact that his parents live in a town surrounded by lots local vineyards is pretty freaking cool. 

I also love that we get to spend our summers here (we run a summer theatre festival) because it allows me to take advantage of the amazing Virginia produce.

OK love note to Virginia section is now officially over. <3

This week, we were fortunate enough to spend the afternoon at Ankida Ridge Vineyards, the newest local vineyard in Amherst County. We met the owners, Christine Vrooman and her son, Nathan, last summer when we invited them to pour their newly bottled wine at our outdoor production of Twelfth Night. We later found out that this event would be their public debut, which made us feel super special. Their wine was a hit with the audience, and more importantly (well to me, anyway), I loved it. 

They are currently selling two varietals, Chardonnay and Pinot Noir, which are not necessarily considered to be the norm in Central Virginia. Almost all of the vineyards in the area focus on sweeter wines - Viognier, Gewurztraminer, Rosé . The reds tend to either be Cabernet Franc (not my fav) or a some sort of blend that includes Cab Franc. Ankida is doing things their way, and I like it. They have already been given rave reviews by a number of wine enthusiasts, including Dave MnIntyre of The Washington Post. In other words, they are makin' it happen.

Cabernet Franc, Cabernet Savignon, and Chardonnary fermented in french oak barrels
2010 Chardonnay and Pinot Noir ready for tasting
On Wednesday, we drove the windy mountain roads up to their tucked-away winery. It is a beautiful location, even in the dead of winter. I can only imagine what it must look like in the fall.

The view from the vineyard
Young Chardonnay planted in rows
Christine and Nathan walked us through their process, from growing and picking the grapes, to fermenting and bottling. It was informative and super interesting, and it didn't hurt that we were able to taste some wine while we were there. Also, they had cheese. I love cheese. 

Christine. She knows her wine.
Geoff and his parents. It's a very serious moment.
Geoff smelling the Cabernet as it ferments
Cheese.
Cab Franc made with grapes from Donald Trump's vineyard
We left there with some bottles of chardonnay, so I decided that a creamy risotto would make a perfect pairing to the crisp, dry white wine. 

Before I move on to the recipe for today, a quick disclaimer. Risotto purists, stop reading now. I do not stir this risotto constantly, I do not add the broth a thumb-full at a time, and I use BROWN RICE. I know, it's a crime. But I like it, and it's healthier, so deal with it. 

Risotto can be made with a number of different vegetables and protein, but I went with what I already had in the refrigerator. A big, sturdy head of winter radicchio added a pop of color and a lot of flavor, and topping it all with a poached egg made it a meal. Although I don't usually eat eggs, I have been reading one of my new Christmas books, An Everlasting Meal by Tamar Adler. She worked with Alice Waters for years, and writes her book more as a narrative than a series of recipes. She, like Alice, promotes simple, local, seasonal food, and somehow she makes a poached, local egg sounds absolutely delicious. I still have no desire to eat a factory farmed, genetically modified egg, but a local brown egg from Horse and Buggy Produce with a bight golden yolk will do just fine.
Enjoy this risotto as a main dish with a small green salad, and feel free to top it with whatever protein you have on hand.


Brown Rice Risotto with Radicchio & Poached Egg
Serves 4
Ingredients
2 tablespoons butter 
1 tablespoon olive oil
1/2 medium onion, diced
3 cloves garlic, minced
2 cups short-grain brown rice
1 small head radicchio, minced
3/4 cups dry white wine
6 cups vegetable broth
1 cup grated parmesan cheese (good quality)
1/4 cup flat-leaf parsley, roughly chopped
black pepper
4 teaspoons white vinegar
4 local free-range eggs

Instructions
1. In saucepan, heat vegetable stock to slow boil.
2. In large, wide-sided skillet, heat oil and butter over medium. Add onions, saute for 3 minutes. Add garlic and radicchio, saute for 3-4 more minutes. Add brown rice, stir to combine, and continue to cook, stirring occasionally, until rice starts to toast - about 5 minutes.
3. Stir in wine and cook until liquid has evaporated.
4. Stir in 4 cups vegetable stock, cover, and let cook for 45 minutes to an hour, stirring frequently. When liquid as evaporated, and rice is still chewy, add more broth. Continue to do this until rice is soft. If 6 cups of broth is not enough, begin to add hot water.
5. When rice is almost done, boil water and vinegar in a saucepan and poach eggs for 3 minutes.
6. Season the risotto liberally with black pepper, and taste. Depending on the broth, you may not need to add salt, but adjust as needed. Add parmesan and parsley to risotto and stir to combine. Pour into individual serving dishes, top with a poached egg, a garnish with a sprig of parsley or additional grated parmesan.

Saturday, October 15, 2011

Parmesan Garlic Dressing

A friend asked me to make some parmesan garlic dressing. An assignment you say? Yes please!
I am going to take a break from my usually verbose writing method and just give you the recipe for this super delicious dressing without fanfare. Here it is. Super yummy. Use it on salad, meat, vegetables, ok anything.

Enjoy Krista!


Parmesan Garlic Dressing
Ingredients
1 head roasted garlic*
1 cup olive oil
1/3 cup white wine vinegar
1 teaspoon dijon vinegar
1 teaspoon sea salt
1/2 teaspoon black pepper
2 shallots
1/4 cup chives, roughly chopped
1/2 teaspoon honey
1 chunk parmgiano-reggiano (roughly the size of a golf ball)

Instructions
Combine all ingredients in blender and blend until smooth. Drink directly from blender. Just kidding. But you might want to.

For a creamier variation, replace 1/4 cup olive oil with vegan or regular mayo.

Enjoy!
*For notes on roasting garlic, see my grilled corn bruschetta post. Scroll to the bottom for a how-to.

Friday, October 7, 2011

Kid-Friendly Week: Mashed Cauliflower


This week, a friend asked me if I had an kid-friendly vegetable ideas. I don't actually have kids unless you count our new dog Tommy who acts very much like a small child minus the talking part.


However, I do have a young brother who was one of those picky kids - the kind who has a very specific list of foods he deems to be edible, and a long, long list of foods that will never pass his lips. It can be a challenge, especially if your kids didn't grow up trying all kinds of food.
 
The good news is, there are a number of healthy, veg-centered dishes that help fill vegetable quota for the day, and can hopefully increase the variety your kids are eating without them necessarily knowing it.

Sunday, September 18, 2011

Veggies and Tailgating. Yes they can happen at the same time.

It is mid-september and that means one thing to my husband and my family: football. Yes that's right, college football season is well underway, so 3 weekends in a row, husband and I have been packing it up and heading to Tallahassee for the Florida State Seminole games. I have to be honest up front, football itself isn't really my thing, but the 4-8 hours of socializing beforehand is ok by me.

Sunday, March 27, 2011

Herbs & Hors d'oeuvres


The farmer's market on Saturday was an herby delight! Although it is only Spring, the summer vegetables are in full-force here in Florida. I left the market with beautiful bunches of dill, parsley, mint, cilantro and basil. I got so excited about my bounty that I decided to use all of them in one dinner.


Luckily, I was having some friends over to eat some of these herby creations. I already had curried tofu marinating in the fridge, and some beautiful butter lettuce from the market as well. Indian was the obvious thought, but that cuisine alone wouldn't allow me to use all my goodies. So, i decided an international appetizer night was needed. Please excuse the picture quality - I hope to get a better camera soon!

Monday, November 22, 2010

Thanksgiving Warm-Up


Who says it can only come once a year?

Thanksgiving! It is the holiday that all foodies (and really any food-lovin' people) await with great anticipation. It also happens to be the holiday that vegetarians and health-conscious individuals find the hardest to navigate. Stuffing soaked in chicken broth, greens cooked with ham, pies galore, and of course, the centerpiece of it all - a huge roasted turkey served with gravy made from its own juices.

Thursday, October 7, 2010

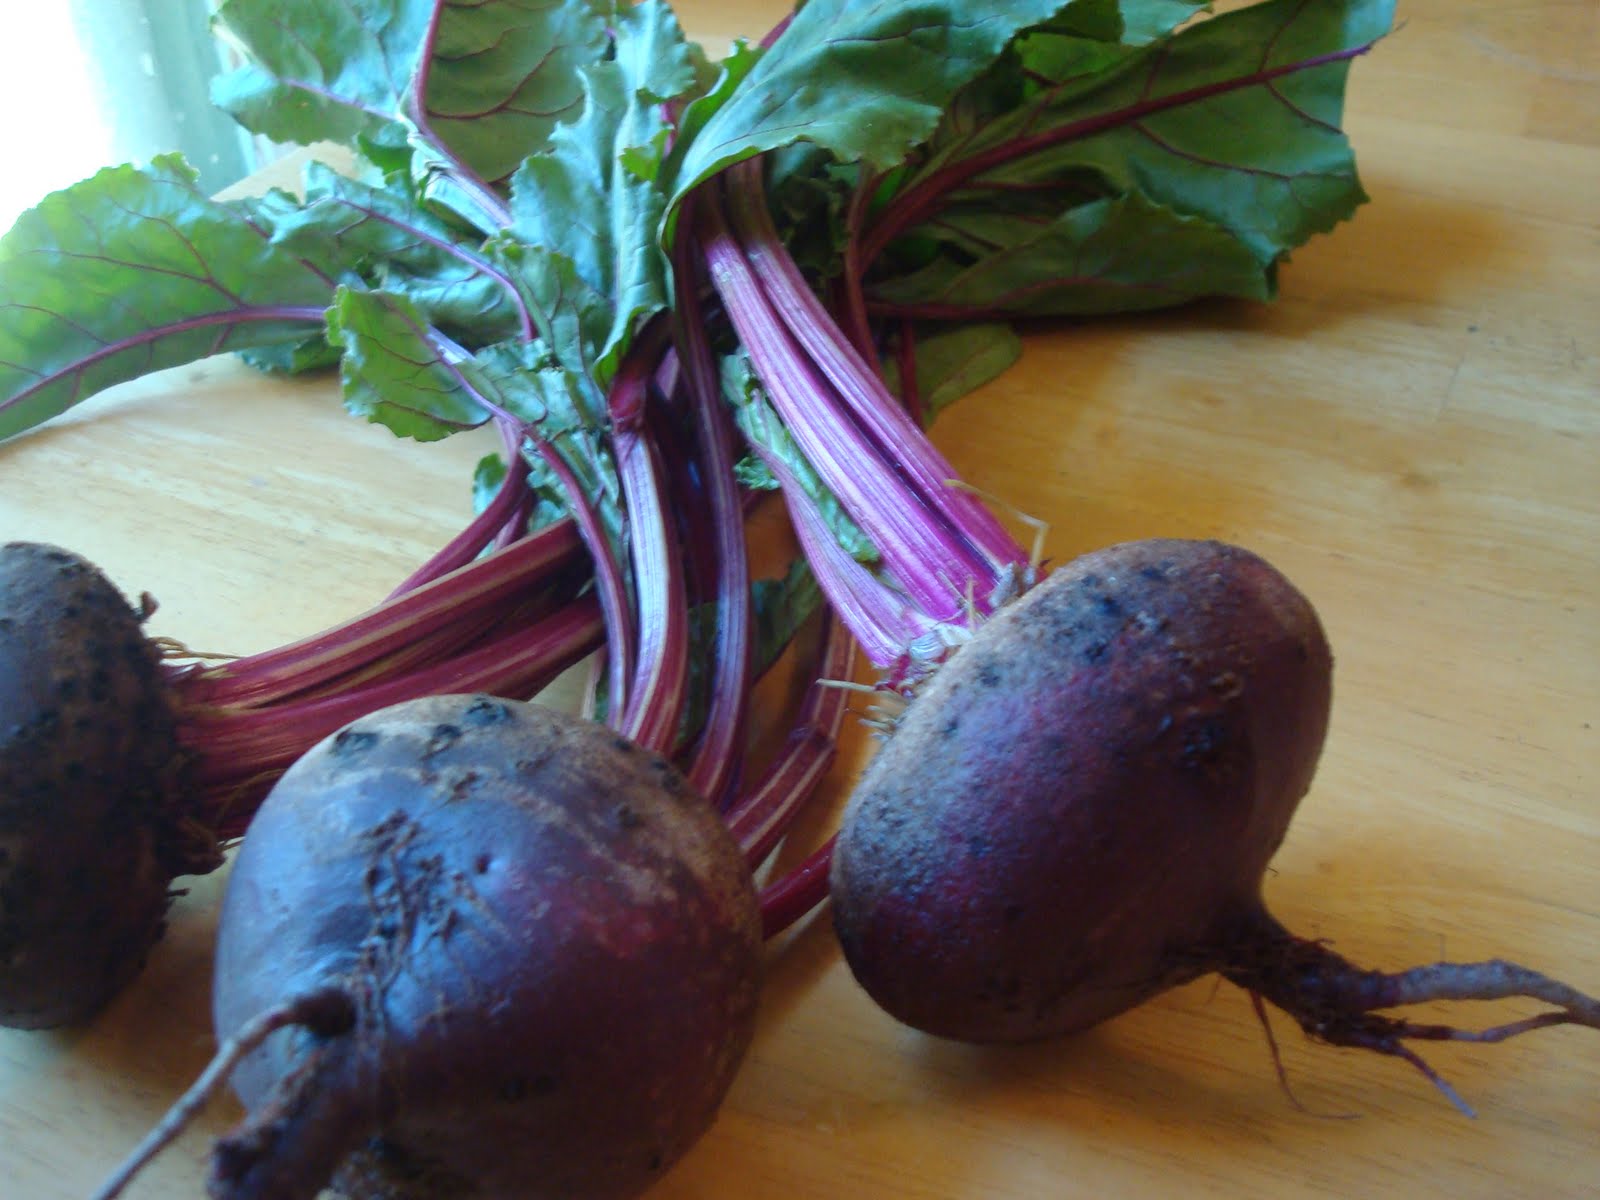
Beets: 2 ways.


Hello, autumn.

It was cold this morning. I don't know about you, but the first morning with a bite in the air is the best day of the year. Suddenly, everything changes. Your mood, your outlook on life, your energy level - all are instantly lifted. Today was that day, and with my autumn euphoria came a craving for all the tastes the season has to offer.

Thursday, August 26, 2010

Zucchini Salad - Simplicity at it's Best

Sometimes I want to cook a big, crazy, messy, complicated, multi-step concoction - and sometimes I want to feel like I am eating as mother nature intended.

This dish was born on a day I was craving a salad, but had only a zucchini and some other miscellaneous veggies on hand. Who said a salad needs to have lettuce, anyway?

For those of you that have run out of things to do with your abundance of summer zucchini, this one's for you!


Simple Zucchini Salad for 1
1/2 lemon, juiced
1 tablespoon olive oil
1 tsp dijon mustard
1 tsp greek yogurt
pinch of salt (more if you are not using feta)
pinch of fresh ground pepper
1 large zucchini, shredded*
2-3 green onions, sliced thinly on a bias
1 small handful chopped fresh basil, italian parsley, or mint(I used all three)
feta and roasted almonds to garnish** (optional)

In a medium bowl, whisk together the first six ingredients.

Add the zucchini, onions, herbs, and toss with your hands gently until veggies are coated. "But Ashley," you say, "Why do you measure stuff in handfulls?" Well, because I am allergic to measuring, and because I have never in my life said "This food has too many fresh herbs in it." CRAZY TALK.

Serve in a bowl, and top with feta and chopped roasted almonds.

That's all! Simple, delicious, healthy, and a perfect afternoon snack or side dish to a lovely dinner.

*For the zucchini, I like to use the biggest setting on my box grater. Cut off the ends, and grate the zucchini on each side until you hit seeds, and then move on to another side. Seeds tend to get mushy, so keep them out.

**I like to roast my own nuts (giggle). Buy some raw almonds, place them on an ungreased baking sheet, and bake in the oven on 400 for 10-12 minutes. You will know they are done when they start to fill your kitchen with a lovely smell.